Following the completion of the digital print work
'District 7 Strata', 2018 there have emerged several new lines of investigation that have sprung from both the development phase and from the finished work.
'District 7 Strata', 2018
As the print is actually a map of the studied area in District 7, the first thing I did was to take a closer look at the layout of the streets, especially the road junctions / intersections. For each of the 34 junctions lying within the studied area, there is a corresponding colour that was collected on site and which eventually worked in conjunction with the shaded blocks surrounding it. The shaded blocks featured lines going in different directions according to a logic that was determined in previous work, vertical, horizontal and diagonal.
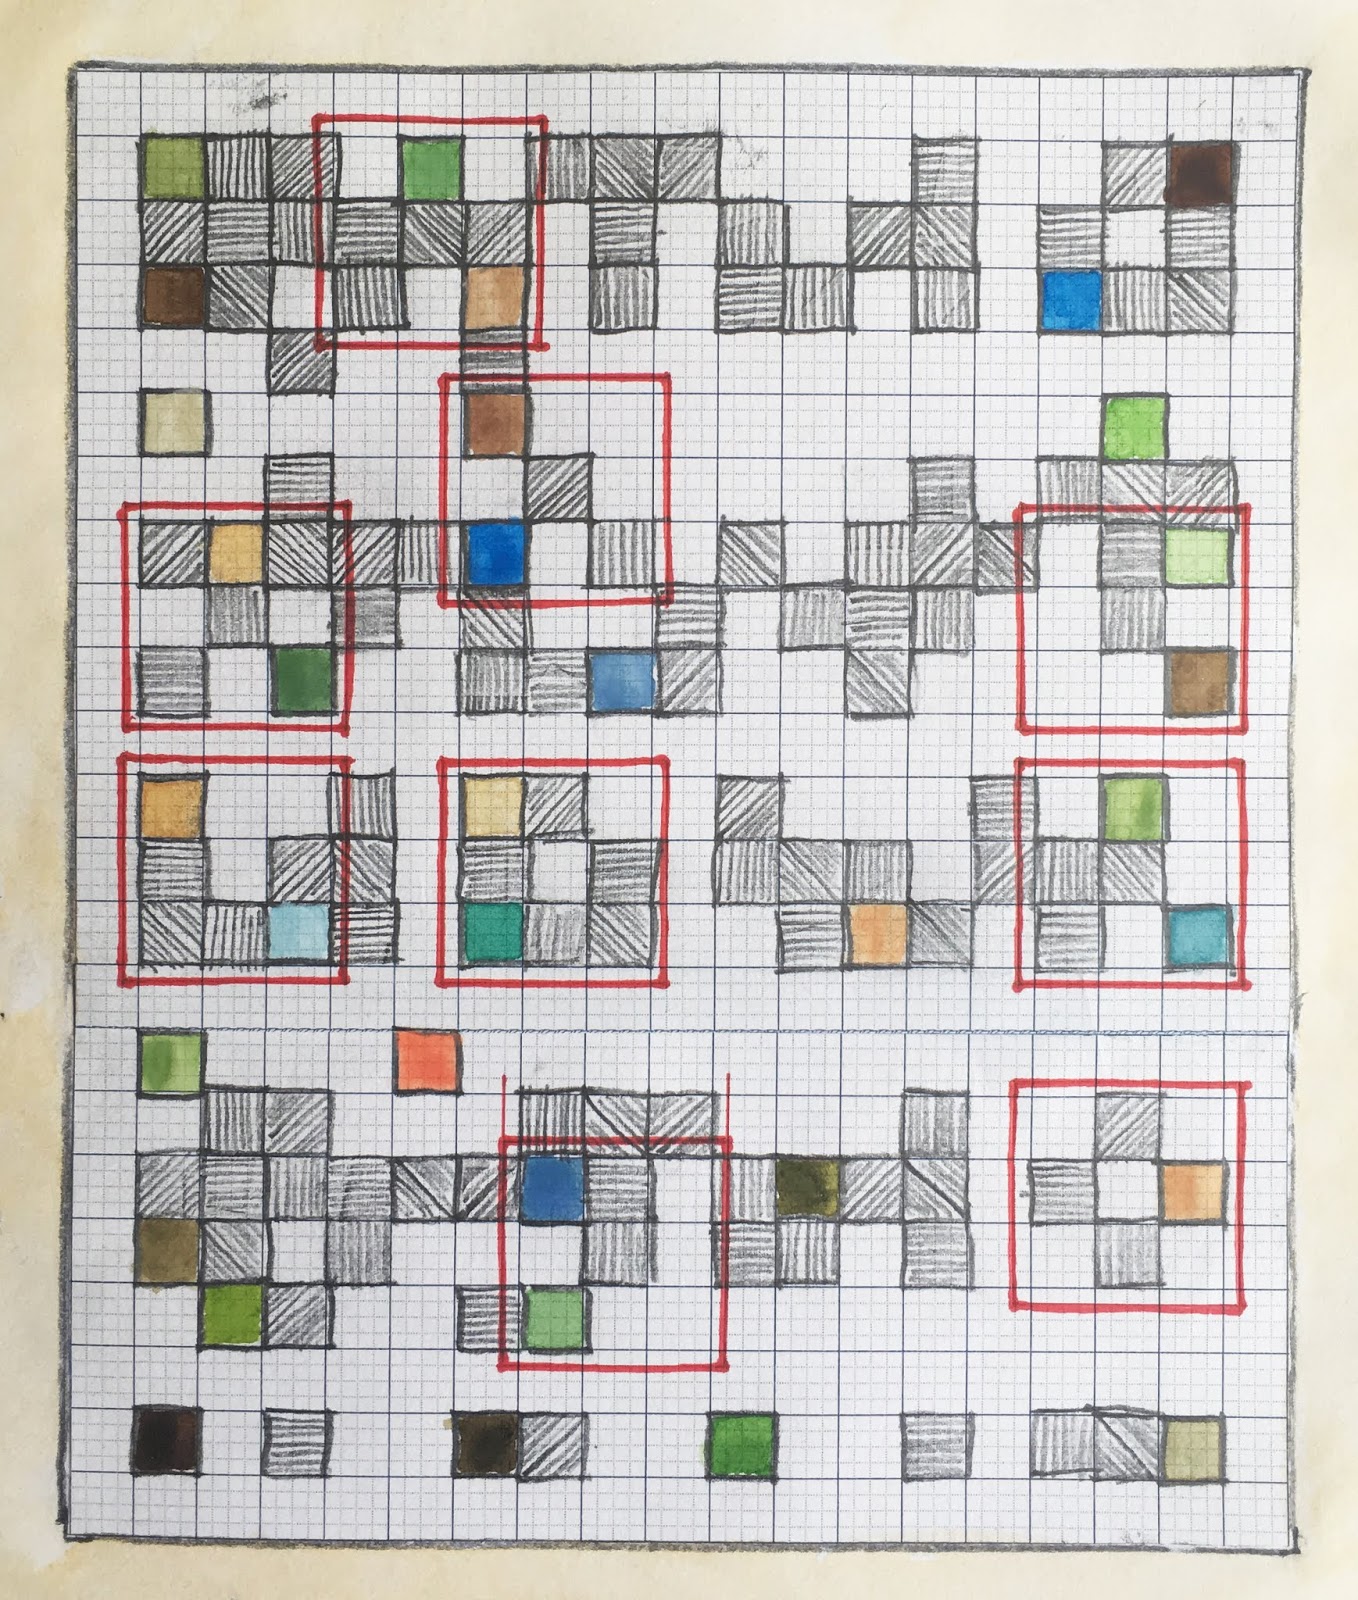
I noticed that the most interesting zones, where colours interacted with shaded blocks in different ways, constituted larger blocks made up of 9 squares as measured on the background grid. Having noticed these interesting zones, the first thing I did was to highlight them and look at them in greater detail.
The first selection of interesting 'zones' prior to print completion
I selected 9 zones of particular interest. The number was important as each zone was itself made up of 9 squares of the background grid. The selected zones are indicated in the notebook page drawing above.
Once the digital print had been resolved and the edition (x30) printed out, I reselected the 9 zones on a test proof, as seen below. This test proof was made on a cheap colour printer and therefore displays mistake that were not carried on to the final version printed for me by an output company.
Selected zones marked on the proof sheet
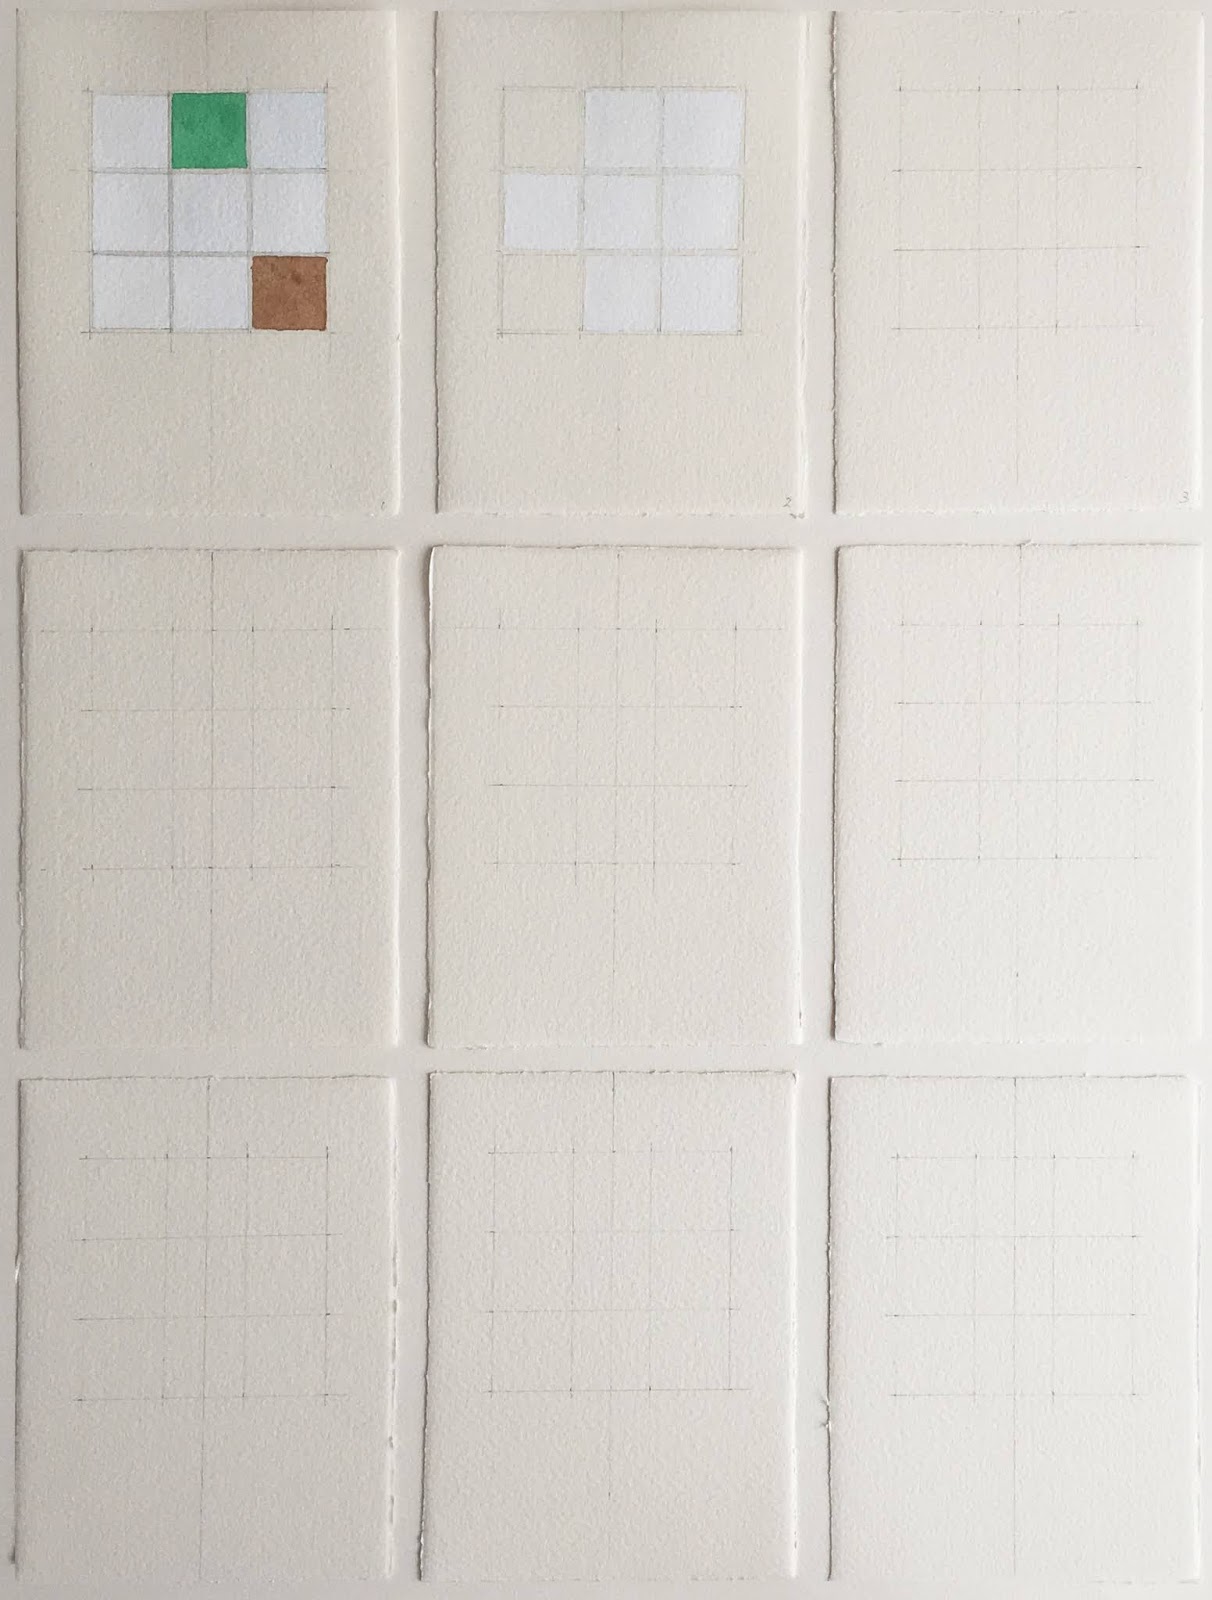
Two forward directions became apparent to me and both directions entailed working on larger versions of each zone. I happened to have a pack of small samples of Saunders Waterford cotton papers that I had been carrying around for a while and now their time had come.
For the first direction I began working on the zones by laying watercolour down onto the Saunders sample sheets, starting from the top-left. Below is a very early stage archive photograph of the initial progress showing the initial layers of colour.
Painted investigation showing initial stage of work
The second direction arose after considering the physical nature of the mapped area and how the topography of the area was comprised of buildings of different heights interlaced by the roads and pavements. As the shaded blocks had different directions of hatching I devised a formulae that would determine the height of each block from a datum level: vertical hatching was assigned a value of 1, diagonal hatching from top right to bottom left was assigned a value of 2, diagonal hatching from top left to bottom right was assigned a value of 3 and horizontal hatching was assigned a value of 4. I could now work my way through the 9 selected zones and build them up into a relief structure according to the assigned heights and colours.
The work on the relief pieces and the painted pieces would progress in tandem to allow any cross-fertilisation of influences to take place as the work developed.
Initial planning for relief structures (framing may not be retained)
Constructing blocks with the assigned values, adding white undercoat
As these two projects develop, I will later post updates to show the progress along with the resolved pieces of work. This work will be carried out alongside a couple of writing projects I am also engaged with.